Stripe to Xero: create a Xero contact and draft invoice for each Stripe charge
For each new Stripe charge, create or update a Xero contact and a draft sales invoice with the charge ID as reference. Use it with Xero's own Stripe connection.
Last checked
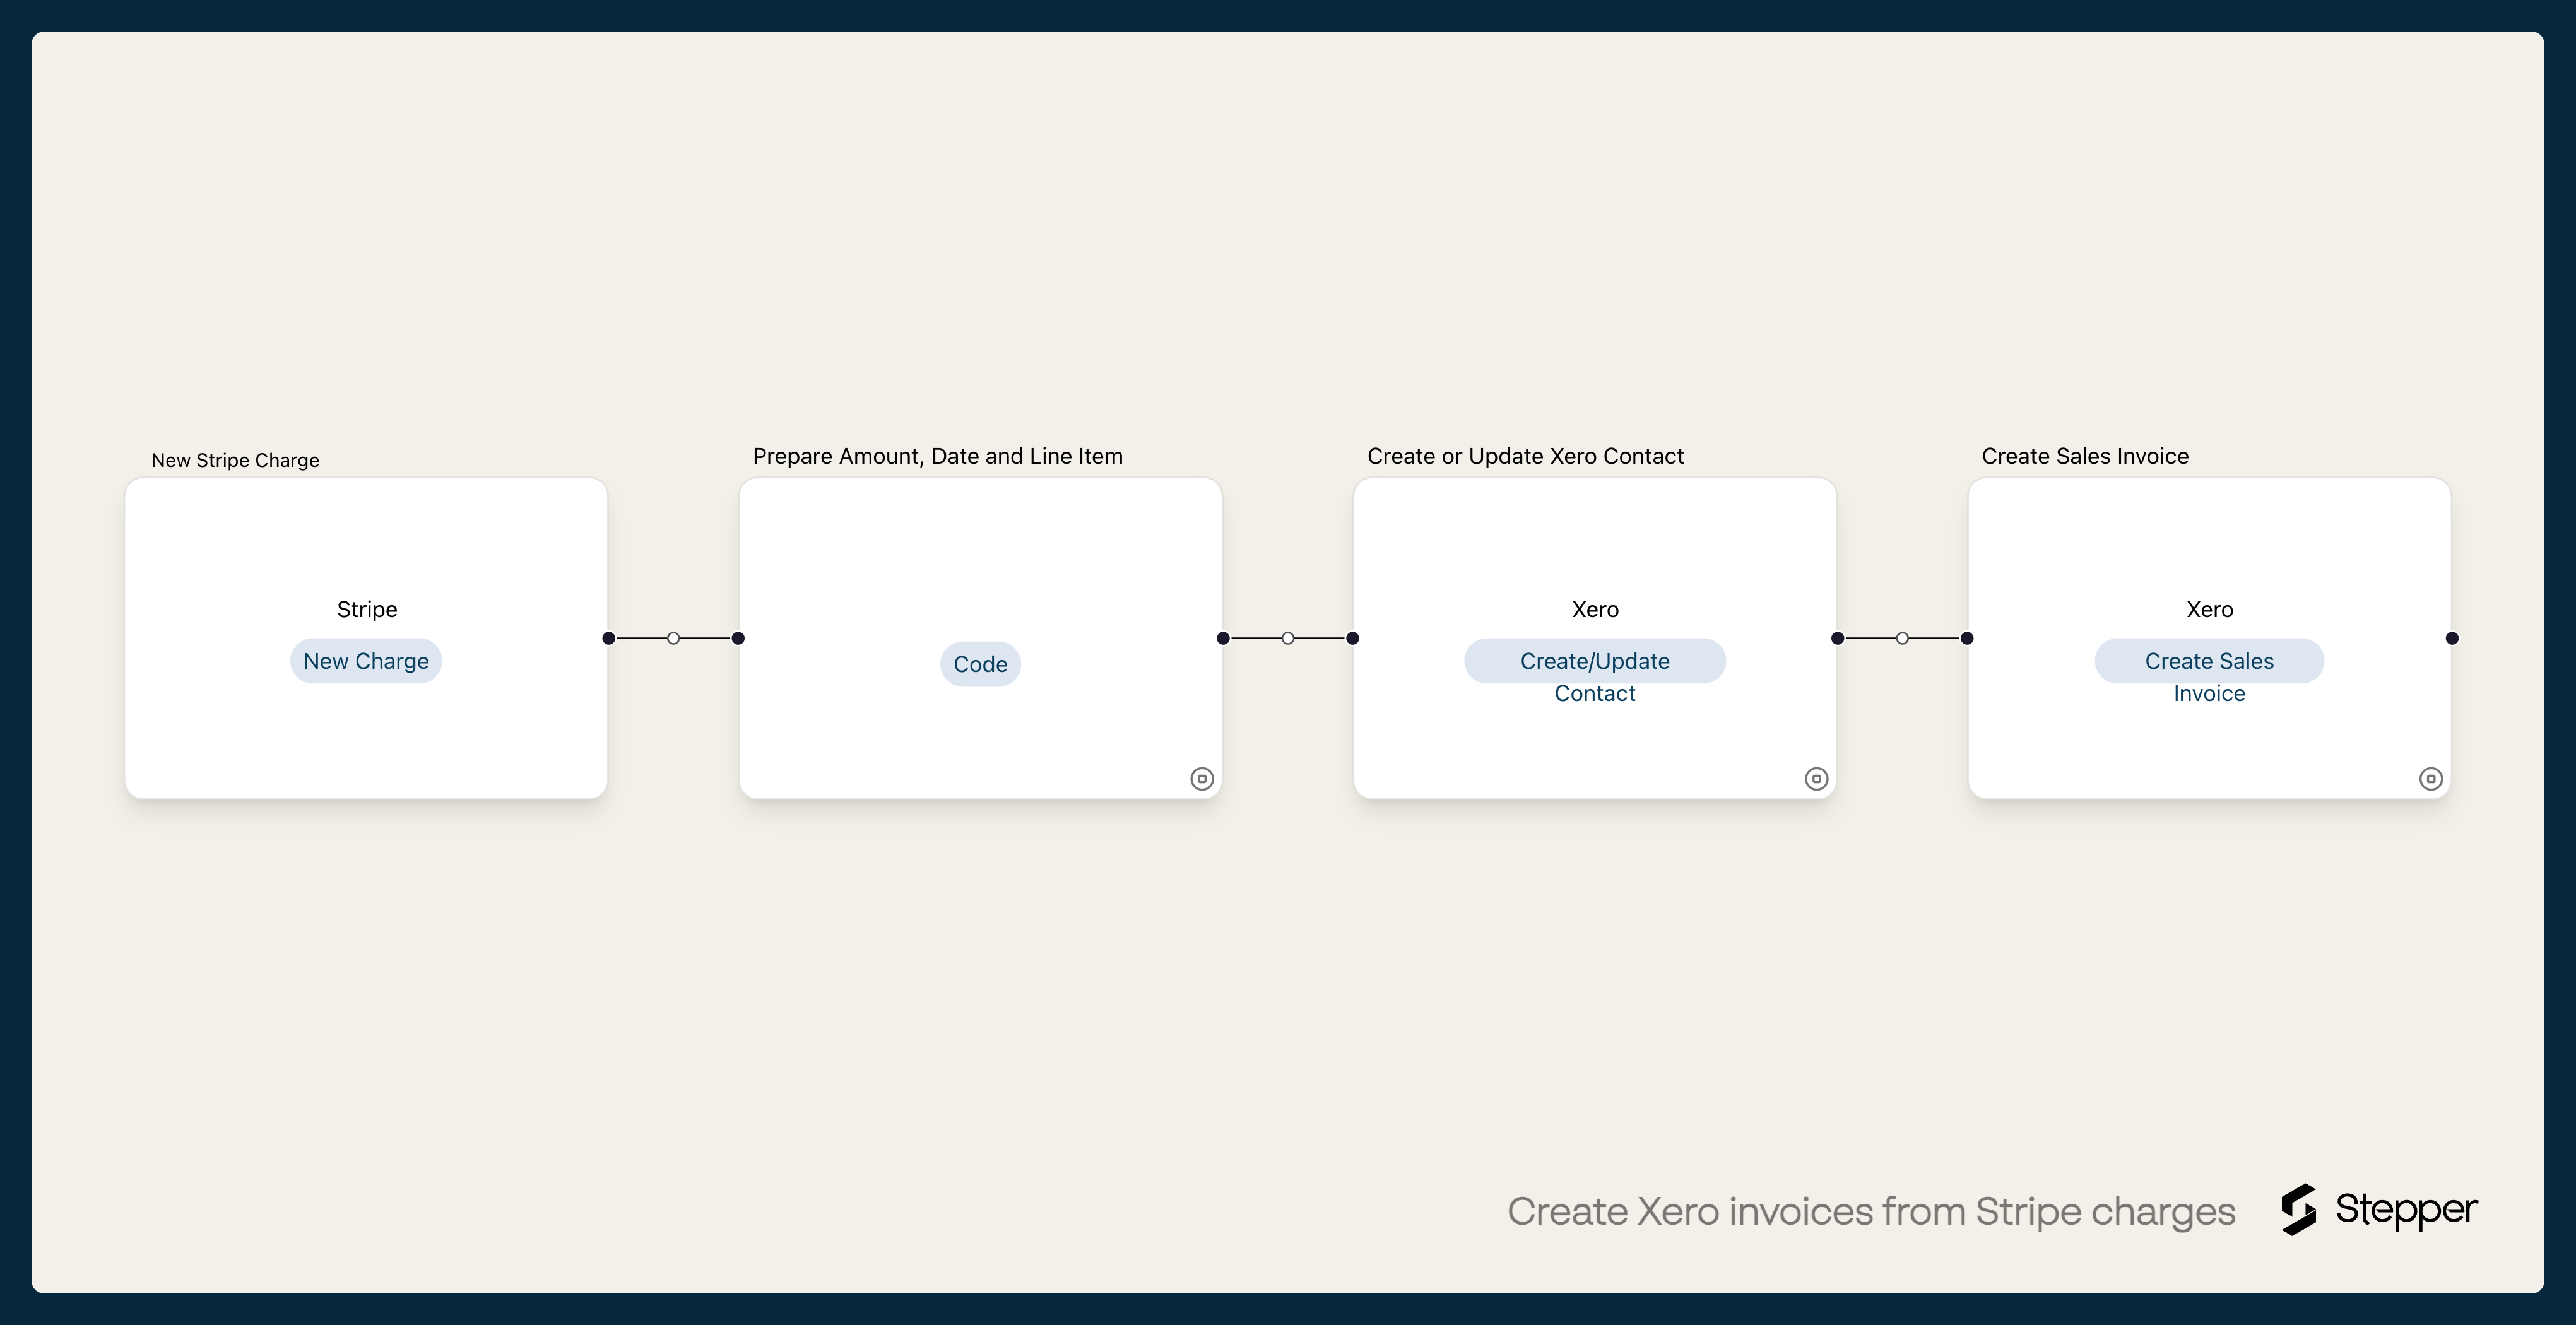
What it does
Xero's Stripe connection brings your Stripe payouts into Xero and matches them to invoices you've already raised. That works when your invoices start in Xero. When the sale starts in Stripe (a payment link, a checkout on your website, a charge you made in the Stripe Dashboard), there may be no Xero invoice for the payment to match.
This workflow creates one. For each new Stripe charge, a code step converts Stripe's amount from cents to the normal amount (zero-decimal currencies such as JPY stay as they are), turns the charge's Unix time into a YYYY-MM-DD date, and builds a line item with the charge description and charge ID, a quantity of 1 and the converted amount. Then the workflow creates or updates a Xero contact from the billing name and email on the charge, and raises a sales invoice for that contact, dated the day of the charge, in the charge's currency, with the charge ID as its reference.
The template doesn't set an invoice status, so the invoice arrives in Xero as a draft for you to review. The line item has no account code or tax type yet: add them in Xero when you review the draft, or add them to the code step so every invoice has them. Reconcile the payment the way you already do in Xero. Xero's own Stripe connection handles payouts and bank reconciliation.
The steps
-
Stripe: New Charge
Starts the workflow when a new charge is created in your Stripe account.
-
Stepper: Run code
Converts the amount from cents (zero-decimal currencies such as JPY stay as they are), turns the charge time into a YYYY-MM-DD date, upper-cases the currency, and builds one line item with the charge description and ID, quantity 1 and the converted amount.
-
Xero: Create/Update Contact
Creates the customer as a Xero contact named after the billing name on the charge (or the billing email, or the charge ID, when there's no name), with the billing email as the email. If a contact with that name already exists, Xero updates it instead.
-
Xero: Create Sales Invoice
Creates a draft sales invoice for the contact from the previous step, dated and due on the day of the charge, in the charge's currency, with the Stripe charge ID as the reference and the line item from the code step.
What you need connected
You also need a Stepper account. Each app's page lists every trigger and action Stepper has for it.
How to set it up
- Sign in to Stepper, or create a free account.
- Click Use this template in Stepper. Stepper copies the workflow into your account and asks you to connect Stripe and Xero if you haven’t already.
- In each Xero step, choose your organization.
- In the invoice step, check the contact, dates, reference and line items. Contact is mapped to the contact ID from the Create/Update Contact step, and Line Items comes from the code step. The template leaves Status empty, so the invoice is created as a draft. The line item has no account code or tax type, so add them in Xero when you review the draft, or add
AccountCodeandTaxTypeto the line item JSON in the code step, using the codes your bookkeeper uses for these sales. - Make one small real charge in Stripe (you can refund it afterwards) and run a test. The template already converts Stripe’s amount to the normal amount (a 25.00 USD charge arrives from Stripe as 2500), so don’t divide it again. Check in Xero that the draft invoice has the right amount, currency, date and reference, then click Publish.
What you can change
- Which charges create invoices. The workflow runs on every new charge. Put a condition on the rule after the Stripe trigger so only some go through, such as charges with a certain description.
- The contact’s name. The code step uses the full billing name as the Contact Name, falling back to the billing email and then the charge ID, because Xero needs a name. Map a company name instead if that suits your Xero contacts better.
- Due date. The invoice is due on the day of the charge. Change it if your bookkeeper prefers something else.
- The line item. Edit the line item in the code step to change its description, or add
AccountCodeandTaxTypeso invoices arrive ready to approve.